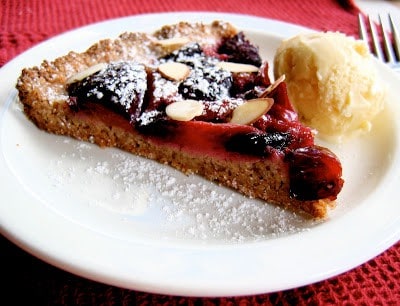
Rustic Almond-Plum Tart
Serves 815 mins prep45 mins cook
This fruit tart is the thing of dessert dreams!
0 servings
What you need

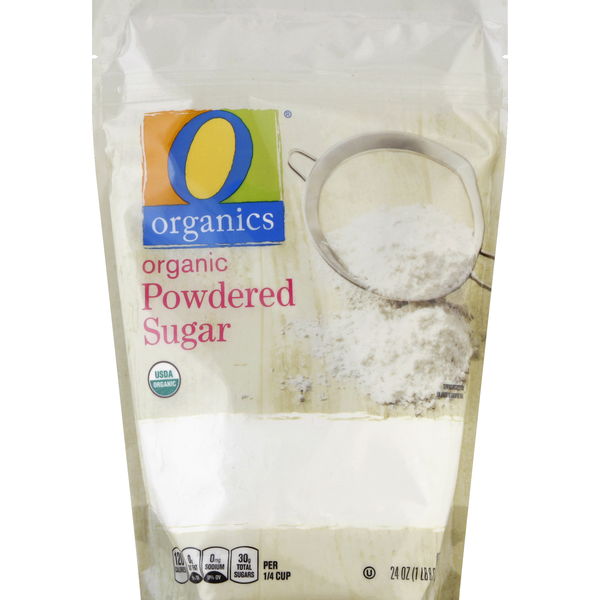
tbsp butter

cup wheat flour


cup turbinado sugar

tsp baking powder

tsp salt

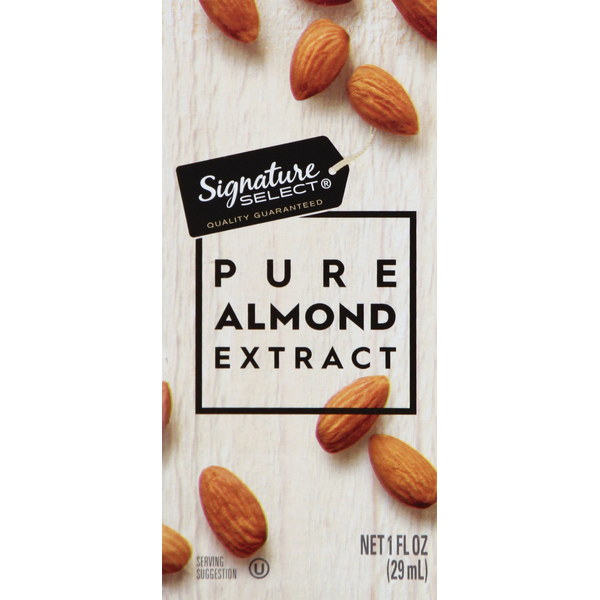
tsp almond extract

tbsp green cardamoms
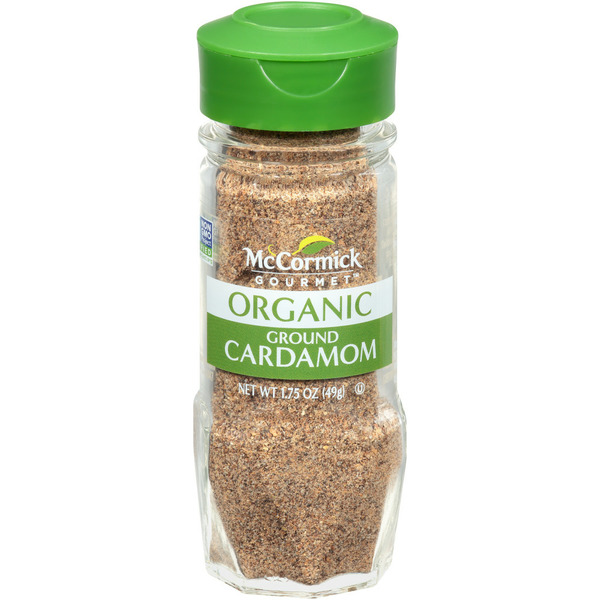
tsp ground cardamom

cup half & half
cup sugar

cup heavy cream
Instructions
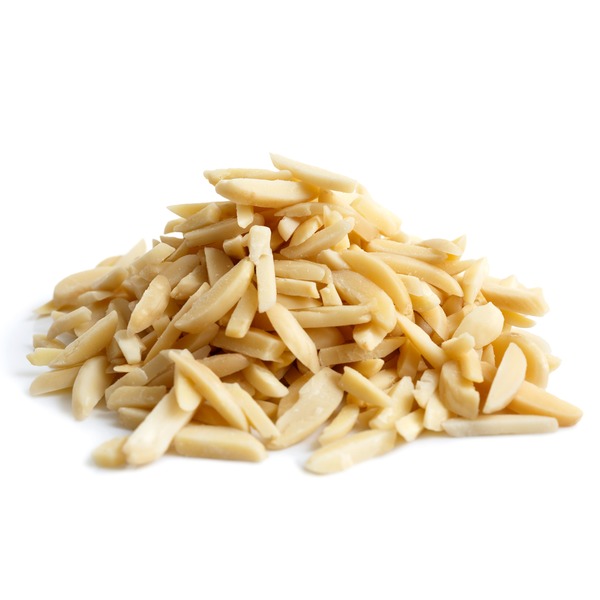
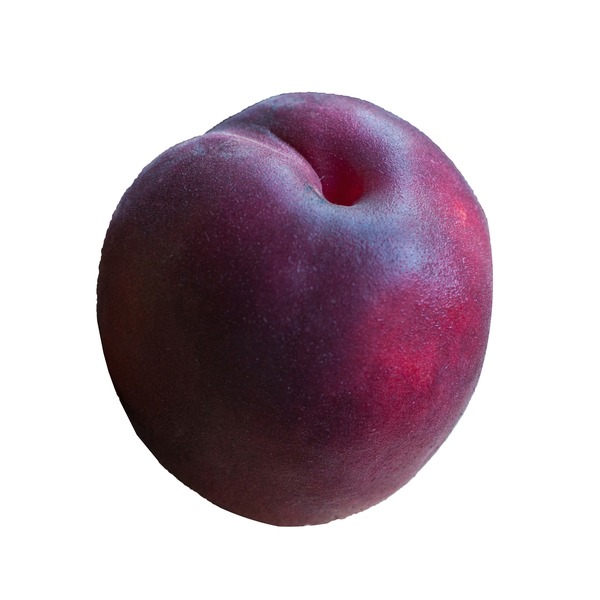
Rustic Almond-Plum Tart
2 Position a rack in the center of the oven and preheat to 375º. Generously grease a 9 or 10” tart, cake, or pie pan, or oven-safe skillet.
3 In the bowl of a food processor, combine the almonds, flours, 2/3 cup sugar, salt and baking powder. Process until the almonds are very finely ground. Add the butter pieces, egg and almond extract. Pulse until the mixture begins to clump and resembles damp sand. Dump into the greased baking vessel and press evenly over the bottom (don’t press up the sides of the pan, though.)
4 Leaving a 1/2” lip around the outer edge, arrange the plum slices in concentric circles over the dough. Sprinkle the tart with the remaining tablespoon of sugar. Bake the tart for about 45 minutes, until the plums are oozily collapsing and the pastry turns golden brown.
5 Let the tart cool a bit. Optionally sprinkle with powdered sugar and almond slices, then cut into wedges and serve, with cardamom or other ice cream, or a bit of whipped cream or creme fraiche.
6 The tart keeps well for up to several days at room temperature or in the fridge.
Toasted Green Cardamom Ice Cream
9 Toast the cardamom pods in a medium saucepan over medium heat, shaking the pan regularly, until golden and fragrant, 2 - 3 minutes. Add the vanilla, ground cardamom, and half and half. Heat over a medium flame until steaming, and bubbles form around the sides of the pan, swirling occasionally. Cover and steep 30 minutes.
10 Pour the cream into a large bowl or quart-sized measuring cup. Place a fine mesh sieve over the top. Set aside.
11 In a medium bowl, whisk together the yolks, sugar and salt. Reheat the half and half. Gradually pour into the yolks, whisking constantly. Return the mixture to the pan and cook, stirring constantly with a heat-proof rubber spatula, until the mixture just starts to ‘stick’ (form a film on) the bottom of the pan, and/or registers 170º on an instant read thermometer.
12 Immediately strain the mixture through the sieve and into the cold cream. Optionally chill the mixture in an ice bath to cool it down quickly, and place in the refrigerator for at least 4 hours, or up to a couple days.
13 Optionally chill the ice cream base in the freezer for 30 minutes prior to churning, then spin in an ice cream maker. ‘Cure’ in the freezer for at least an hour, until firm enough to scoop. The ice cream is best eaten within a week or two, but will keep for up to a few months. (Place a piece of parchment paper on the surface of the ice cream to prevent ice crystals from forming.)
View original recipe