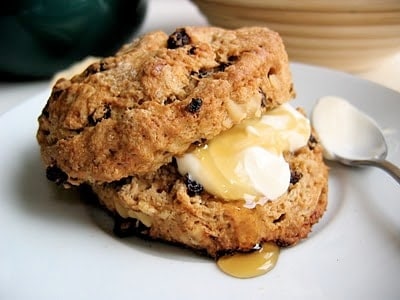
Irish Soda Scones
Serves 1520 mins prep20 mins cook
Flaky, buttery scones filled with American-style Irish soda bread flavors: caraway, brown sugar, currants, and walnuts.
0 servings
What you need

cup dried raisins
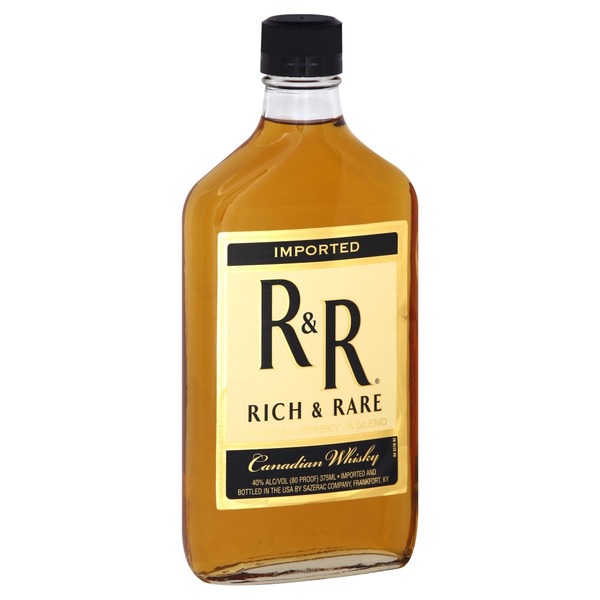
tbsp whiskey
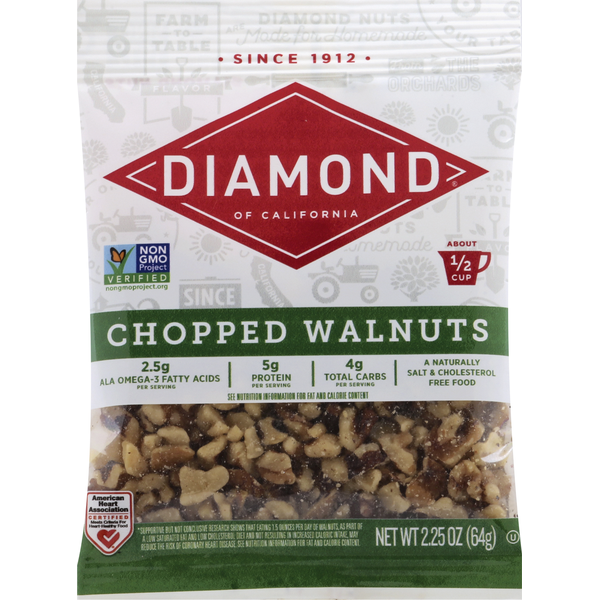
cup black walnuts


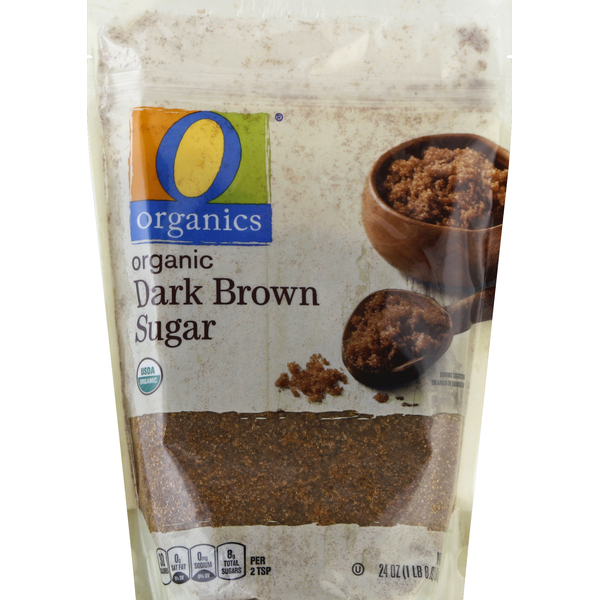
cup dark brown sugar
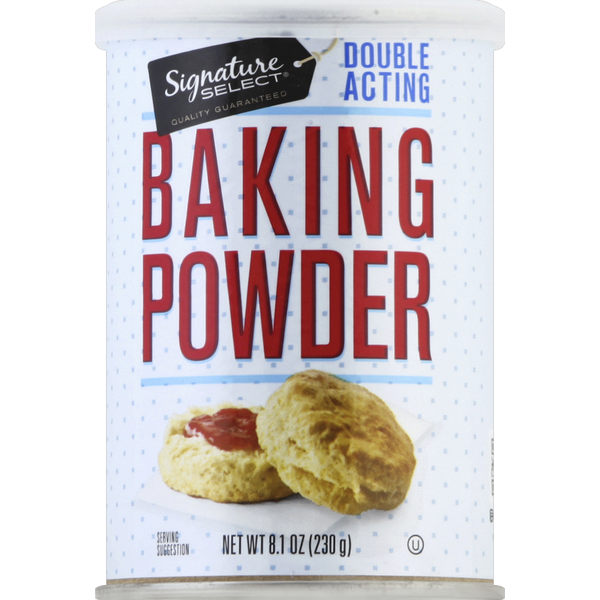
tbsp baking powder
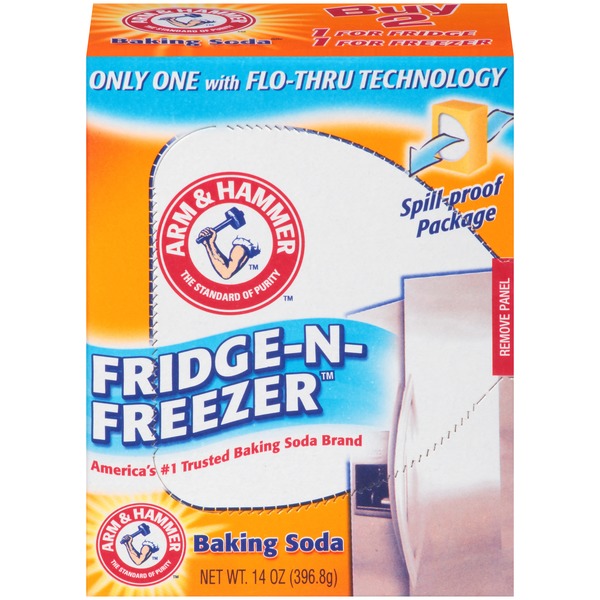
tsp baking soda

tsp salt

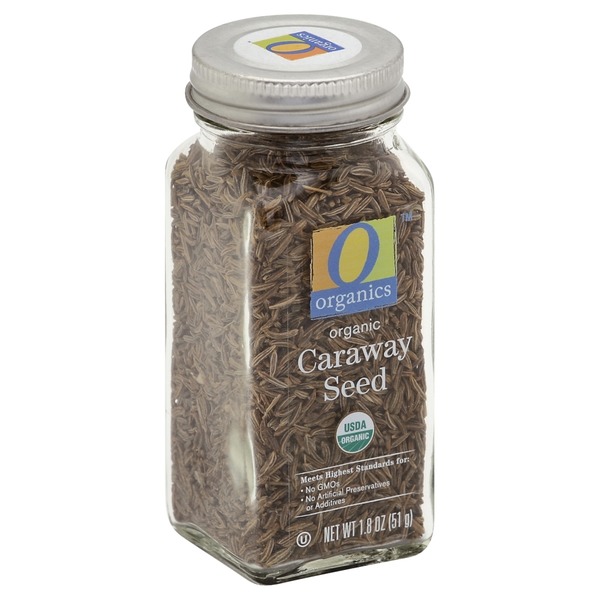
tbsp caraway seed

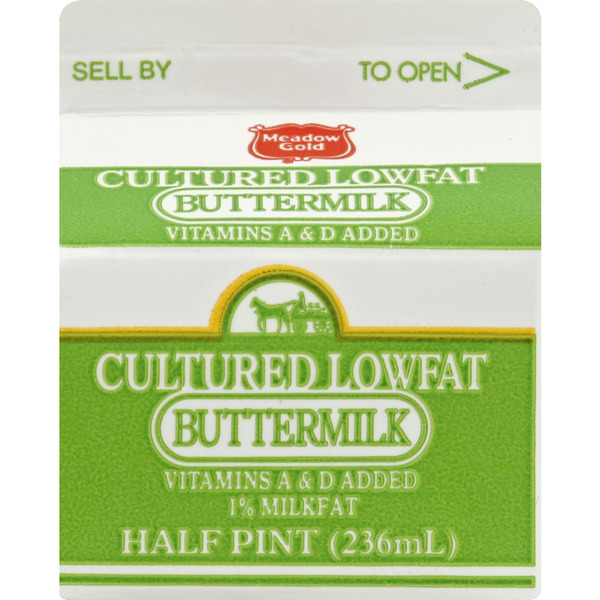
cup buttermilk
Instructions
0 Position two racks in the upper and lower thirds of the oven and preheat to 425ºF. Line two baking sheets with parchment paper.
1 Place the currants in a small bowl and sprinkle over 2 tablespoons of the whiskey. Let sit, tossing occasionally, while you get on with the rest of the recipe, adding more whiskey if the currants drink it up.
2 In a large bowl (or in the bowl of a stand mixer fitted with the paddle attachment, or in the bowl of a food processor) combine the flours, sugar, baking powder, baking soda and salt. Add in the butter and rub with you fingers or a pastry blender (or mix on low or pulse) until the mixture resembles a coarse meal with some pea-sized butter bits remaining. (The more butter bits you have, the more craggy and flaky the scones will be; the more homogeneous the mixture, the more refined the scones will look and feel. I like them somewhere in the middle.)
3 Drain the currants of any excess whiskey, and stir into the butter/flour mixture along with the walnuts and caraway seed. (If you used a food processor, dump the mixture out into a large bowl first. If you used a stand mixer, you can either dump the mixture into a large bowl, or proceed in the mixer.) Whisk together the eggs and buttermilk and drizzle over the flour mixture, stirring and working with a wooden spoon just until the mixture clumps together and no floury bits remain. The dough should be fairly stiff and dry, and at some point, you may decide that your hands are the best tool to use for this. If you still have floury bits left at the bottom of the bowl, drizzle a little more buttermilk right onto the floury bits to moisten everything evenly.
4 Turn the dough out onto a surface dusted very lightly with flour and use lightly floured hands to pat into an even round that is 1" tall (hint: the center will want to be taller than the sides, so pat this down extra). Use a 2 1/2" round pastry cutter (fluted or not) or a glass to cut out circles close together. You may need to dip the tip of the cutter in a bit of flour if it sticks. Place the rounds on the parchmented pans, spacing them 3" apart. When you've cut out as many rounds as possible, gently squish the scraps together, pat out into another circle, and repeat. Keep doing this until you've used up all the dough, trying to work it as little as possible.
5 Bake the scones, rotating front to back and top to bottom halfway through baking, until golden on the tops and bottoms and a toothpick inserted into the center of one comes out clean, about 20 minutes. (If the bottoms of the scones on the lower rack are over-browning, place a second baking pan underneath them.) Remove the pans from the oven and let the scones cool on the pans.
6 Serve the scones warm from the oven, or re-heated in a 350º oven or toaster oven for five minutes or so. Store extras in an airtight container at room temperature for up to 4 days, or double-bagged in the freezer for a month or so.
View original recipe